The fuser command
In the Solaris operating system, mount and unmount operations are used to attach and detach file systems from the system's directory hierarchy. Here's how to perform these operations:
Mounting a File System:
- Create a mount point directory where the file system will be attached. For example, you can create a mount point directory named /mnt/data:
# mkdir /mnt/data
- Use the mount command to attach the file system to the mount point directory. For example, to attach a file system located on the device /dev/dsk/c0t0d0s7 to the /mnt/data directory, use the following command:
# mount /dev/dsk/c0t0d0s7 /mnt/data
-
Verify that the file system has been mounted by running the df command to display information about mounted file systems:
# df -h /mnt/data
Unmounting a File System:
- Use the umount command to detach the file system from its mount point. For example, to detach the file system mounted at /mnt/data, use the following command:
# umount /mnt/data
- Verify that the file system has been unmounted by running the df command again:
# df -h /mnt/data
If the file system is no longer listed in the output of the df command, it has been successfully unmounted.
Mounting and unmounting using Solaris
After the simulation has finished loading, click the Start Simulation button to begin your exploration of mounting and unmounting using Solaris.
1) Initial Prompt
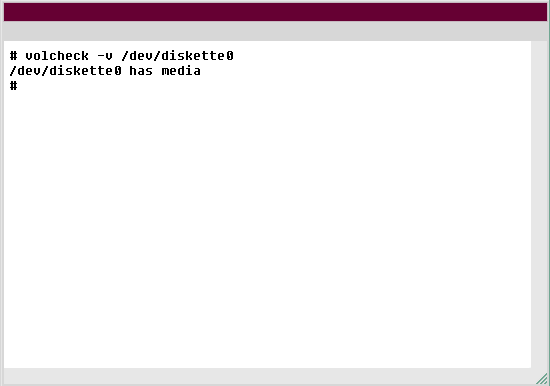
2) volcheck -v /dev/diskette0
3) /dev/diskette0 has media
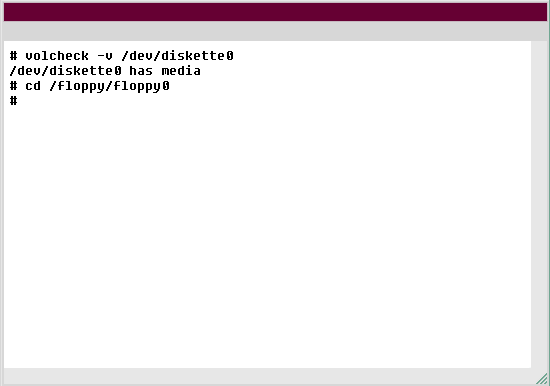
4) cd /floppy/floppy0
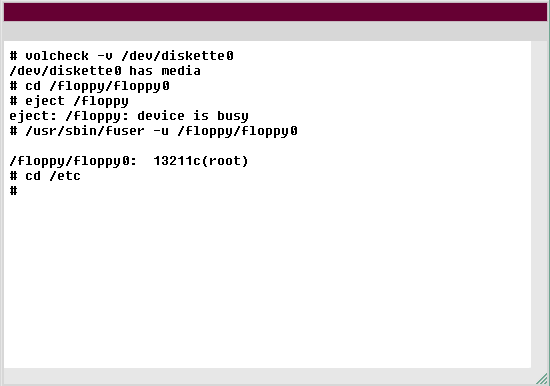
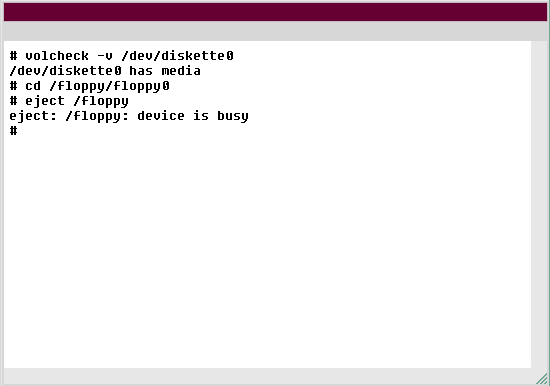
5) eject: /floppy: device is busy
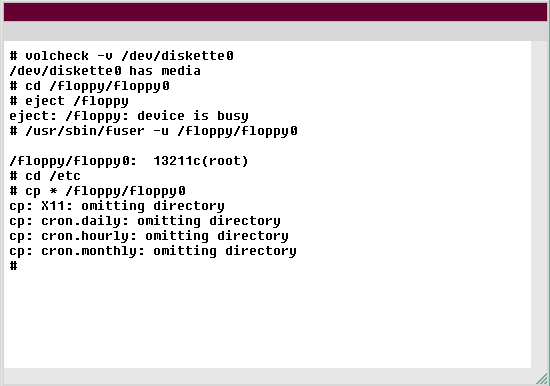
6) /usr/sbin/fuser -u /floppy/floppy0
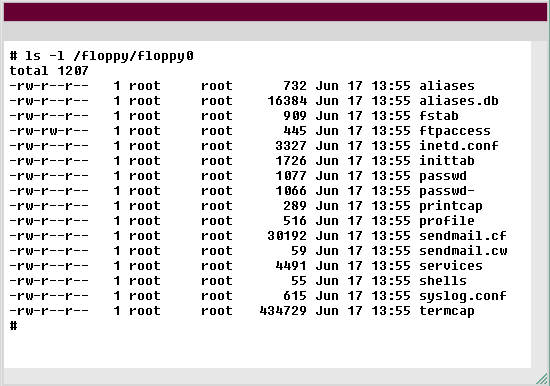
7) ls -l /floppy/floppy0
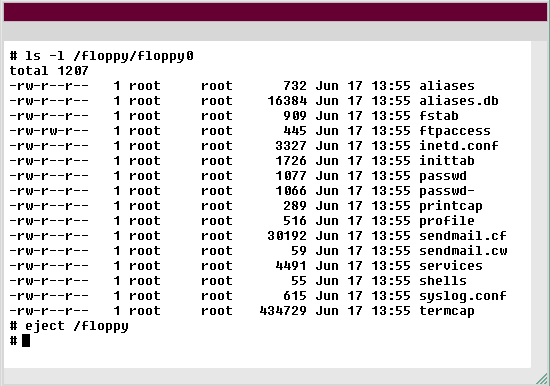
8) eject /floppy
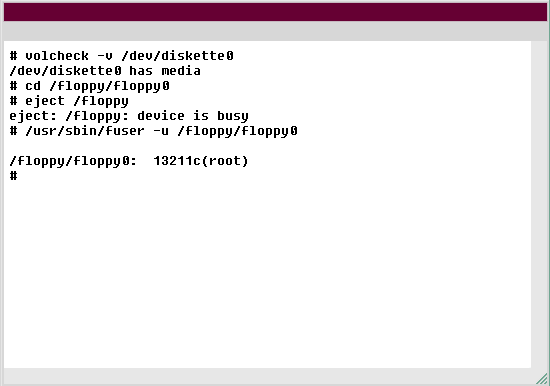
9) /floppy/floppy0: 13211c(root)
- You are logged in as a superuser and have inserted the floppy disk into the drive. Type volcheck -v /dev/diskette0 to verify that the floppy device is mounted.
- Verify floppy disk mounted
- volcheck -v /dev/diskette0
- The command you have entered is incorrect. Please check the instructions and try again.
- You can unmount the floppy using the |||(S7)eject|||(S0) command. But first, let's look at what occurs if you attempt to eject a floppy when a directory is active. To test this, change to the /floppy0 directory. Remember that floppy0 is the root directory of the floppy disk. It is located in the /floppy directory.
- Attempt to eject floppy
- cd /floppy/floppy0
- Type cd /floppy/floppy0 to change to the /floppy0 directory
- Now, try to eject the floppy by typing eject /floppy.
- Eject floppy,
- eject /floppy
- The command you have entered is incorrect. Please check the instructions and try again.
- You received a "device is busy" message. Type /usr/sbin/fuser -u /floppy/floppy0 to learn exactly why you received this message. The -u option will show any user names accessing any directories
- Show user names,
- /usr/sbin/fuser -u /floppy/floppy0
- The command you have entered is incorrect. Please check the instructions and try again.
- You can see that you (root) are currently accessing the /floppy/floppy0 directory. This is why the c indicator is listed. Now that you tested this, use your floppy disk to back up the files in your /etc directory. First, change to the /etc directory.
- Change directory,
- cd /etc
- Type cd /etc to change to the /etc directory.